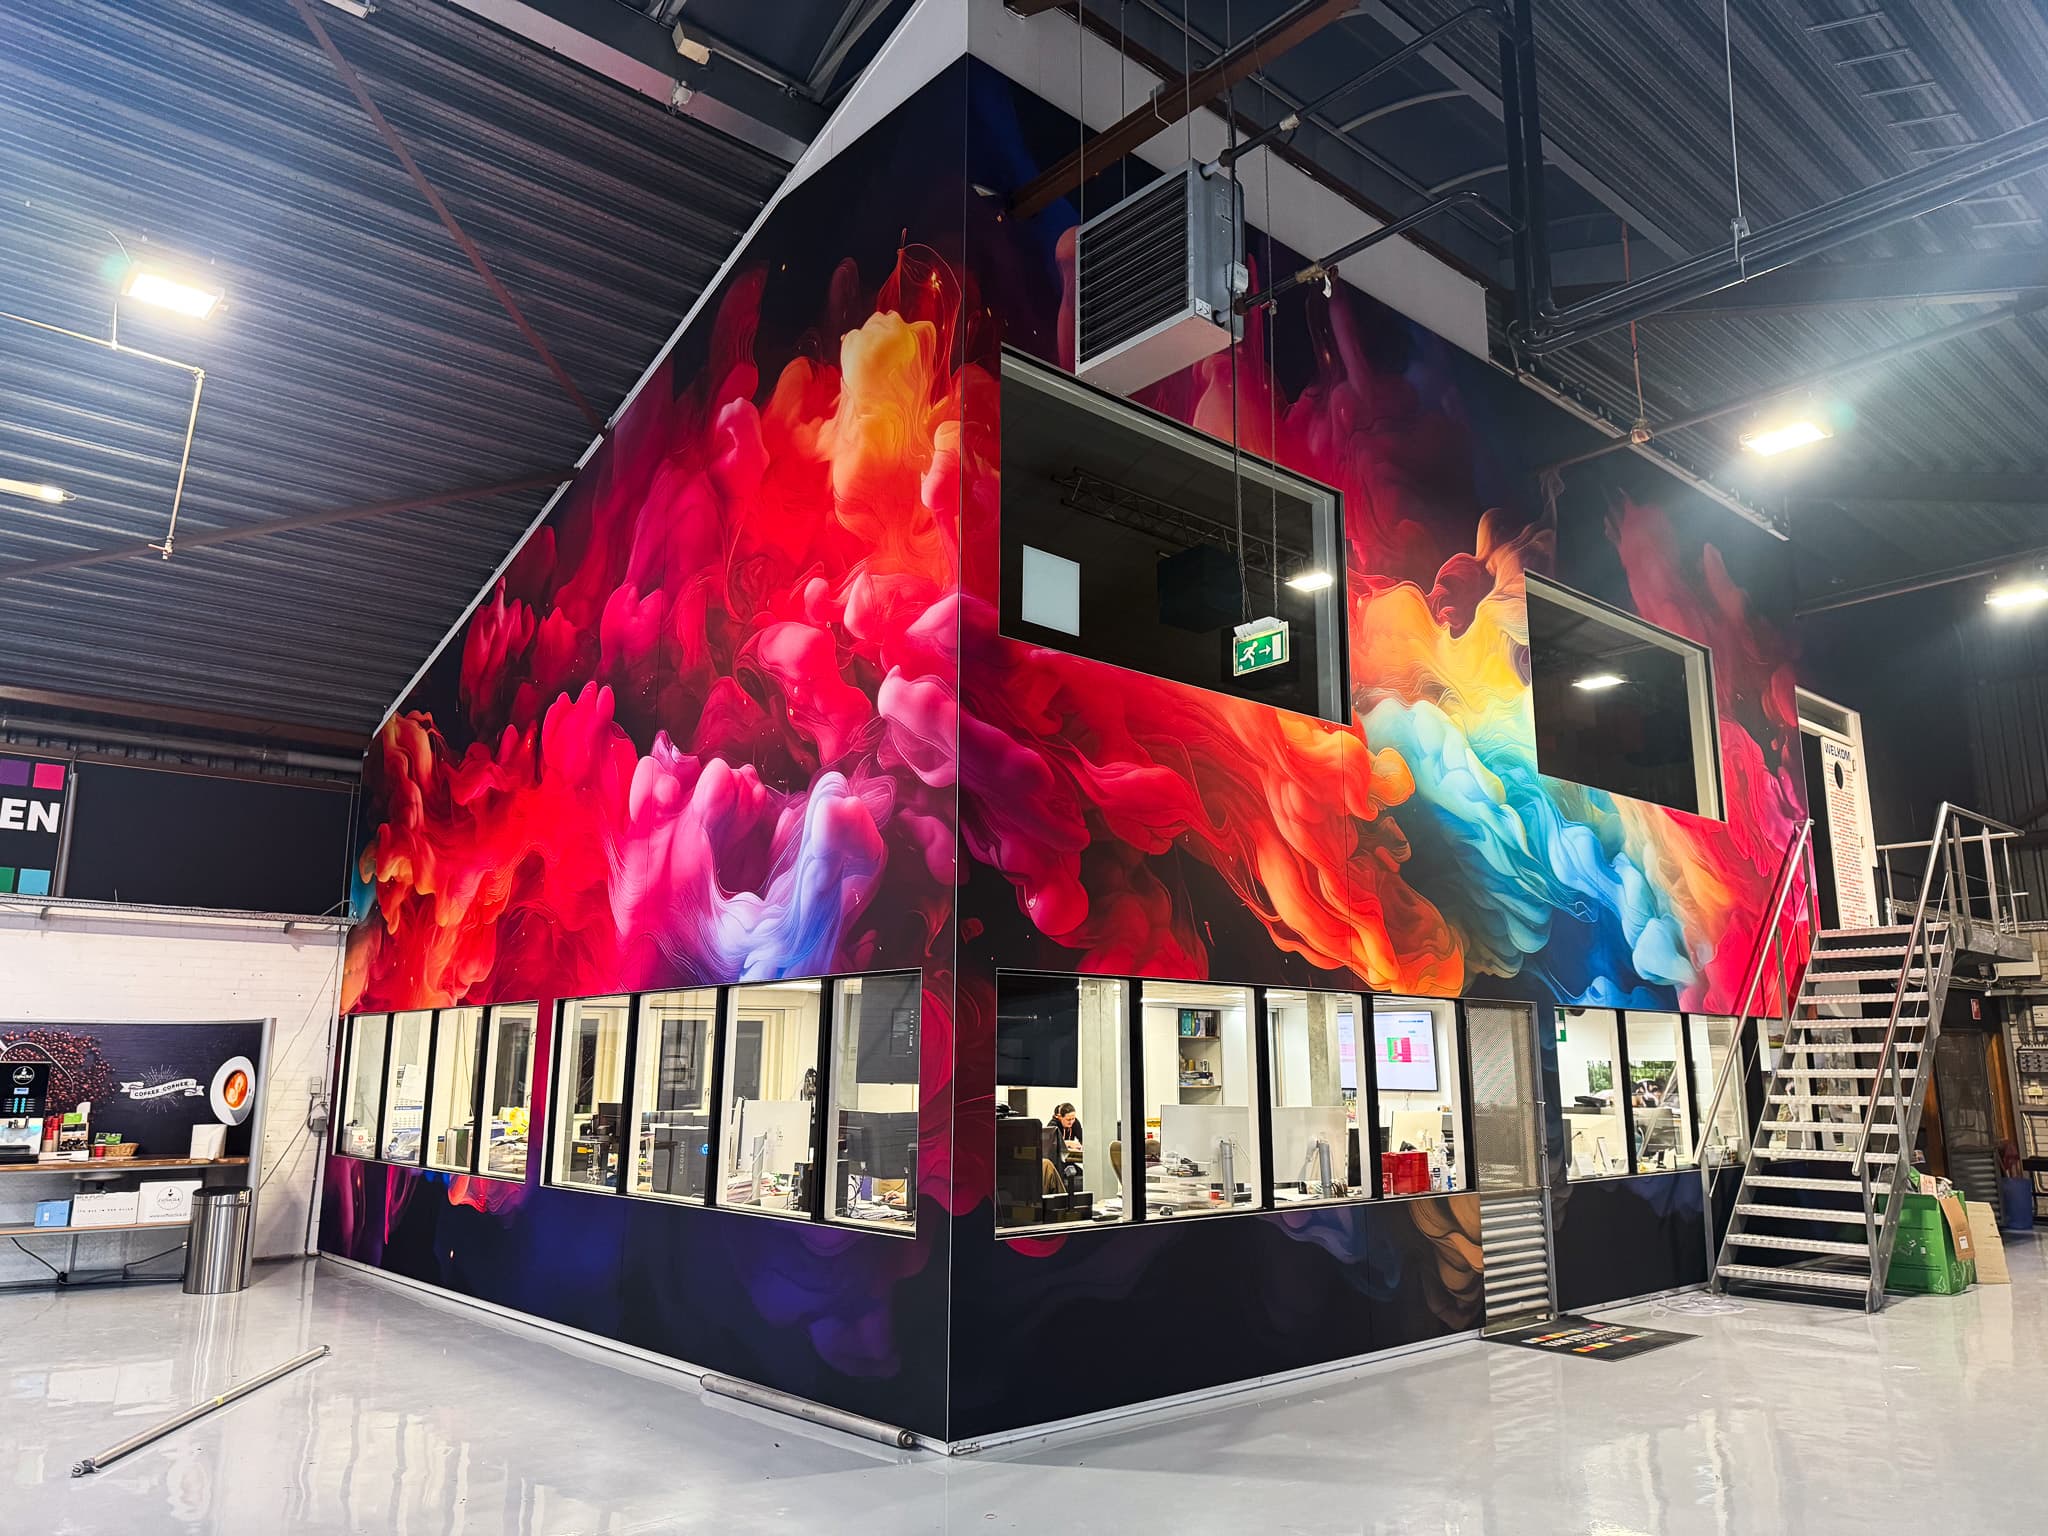
A silicone edge graphic (SEG) is a popular and professional way to present visuals such as advertising, branding, or decorative graphics. The fabric is stretched tightly into an aluminum frame using a silicone edge, resulting in a seamless and clean look. This makes it ideal for trade shows, retail spaces, offices, and other commercial environments. But how do you install an SEG fabric correctly into the frame? We’ll walk you through it step by step.
What You’ll Need
To install a silicone edge graphic, you’ll need the following materials:
- A silicone edge graphic (a printed fabric with a stitched silicone strip)
- A textile frame (aluminum profile)
- Optional: a mounting tool to gently press the fabric into the frame
Step 1: Check the frame and fabric
Before you start, inspect both the frame and the graphic. Make sure the frame is properly assembled and stable—either securely mounted on a wall or standing straight, depending on the application. Don’t worry if the fabric has a few wrinkles from shipping; one of the advantages of SEG fabric is that these disappear once the graphic is tensioned in the frame. If you’re working with a backlit frame, check that the LED lighting is functioning correctly before inserting the fabric.
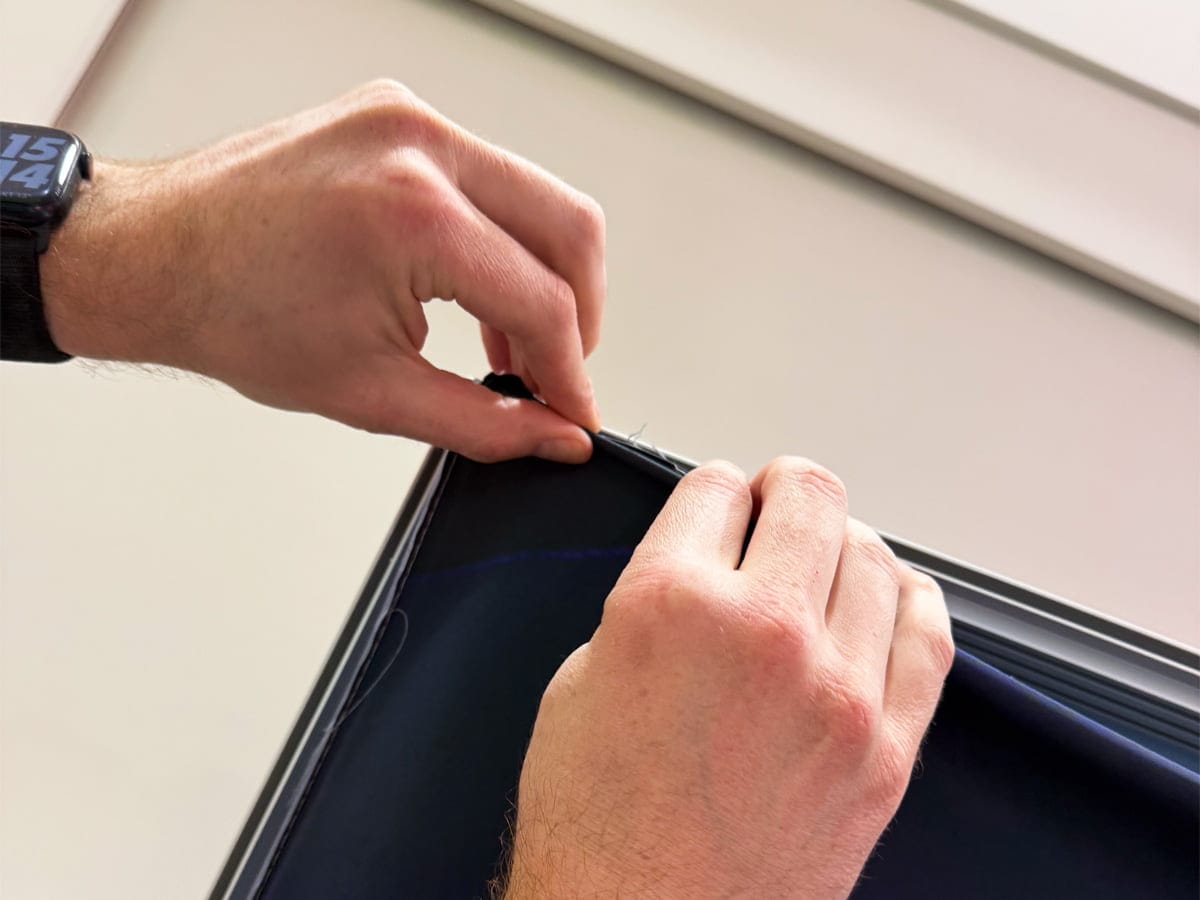
Step 2: Start with the corners
The most effective way to install an SEG fabric is to begin with the four corners. Take one corner of the graphic and press the silicone edge into the corner of the frame. Repeat this for all four corners. This ensures even distribution of the fabric across the frame and prevents skewing.
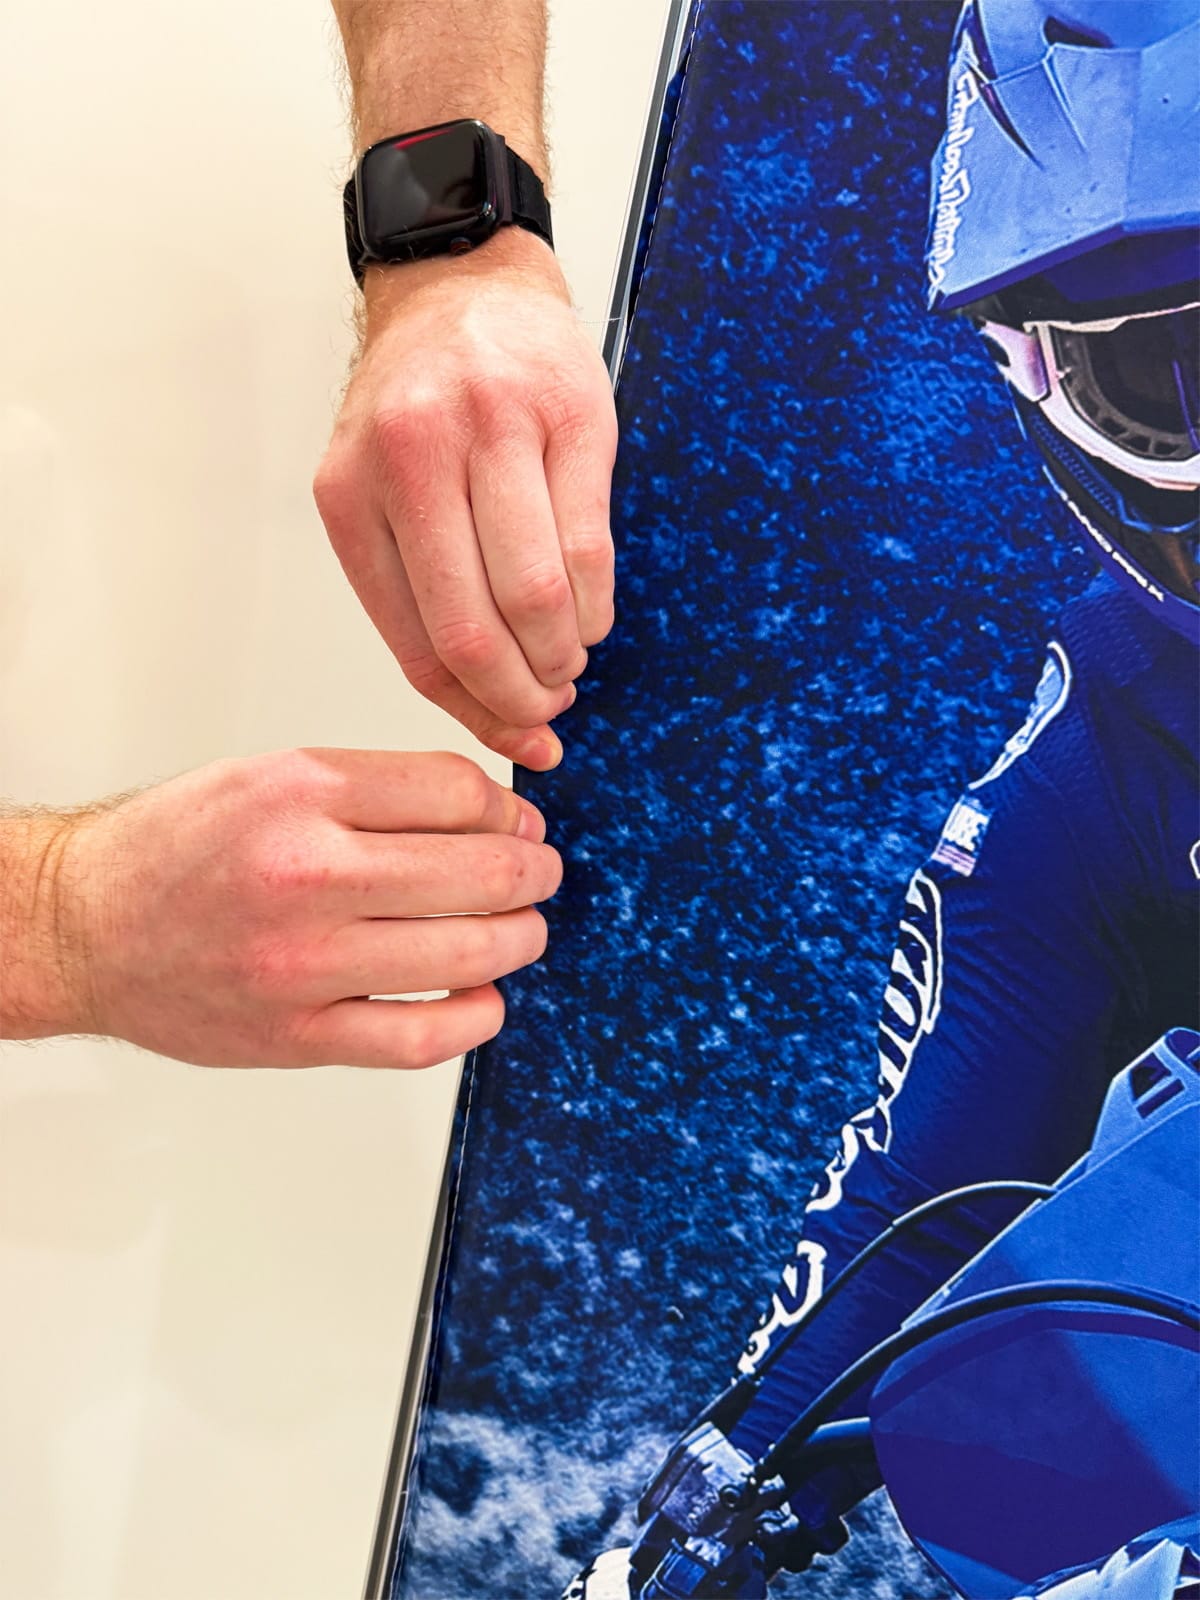
Step 3: Work from the center outward
Once the corners are in place, move on to the edges. Start in the middle of one side and press the silicone edge into the frame. This step is essential for proper tensioning. If you start at a corner, the fabric is more likely to end up crooked. Work your way out from the center to the corners, making sure not to pull on the fabric. Excess tension can result in bunching near the corners. Repeat this process for all four sides.
Step 4: Check and adjust
After the entire graphic is in the frame, inspect the edges to make sure everything is securely in place. If you notice any bumps or loose sections, gently lift that part of the fabric—silicone edge included—and reinsert it into the frame.
Common mistakes when installing SEG fabric — and how to avoid them
- The fabric is too loose: This usually means the silicone edge wasn’t fully pressed into the frame. Check all corners and sides, following the same order you used during installation: start with the corners, then the centers of each side, and work outward.
- The fabric is skewed: This happens when you don’t start with the corners. Always insert all four corners first and then continue systematically.
- Fabric damage: Never use sharp tools to push the silicone edge into the frame. Use your hands or a plastic spatula to avoid tearing the fabric.
Benefits of SEG Fabric
- Easy installation: Quick and tool-free fabric changes
- Sleek appearance: No visible borders or loose fabric
- Durable: Long-lasting and reusable materials
- Versatile: Perfect for retail, offices, exhibitions, and interior branding
Installing a silicone edge graphic is a simple process when you follow the right steps. By starting with the corners, working from the center outward, and doing a final check, you’ll ensure your fabric fits neatly and professionally into the frame. Whether it’s for a trade show booth, retail display, or office environment—this method guarantees the best result.